
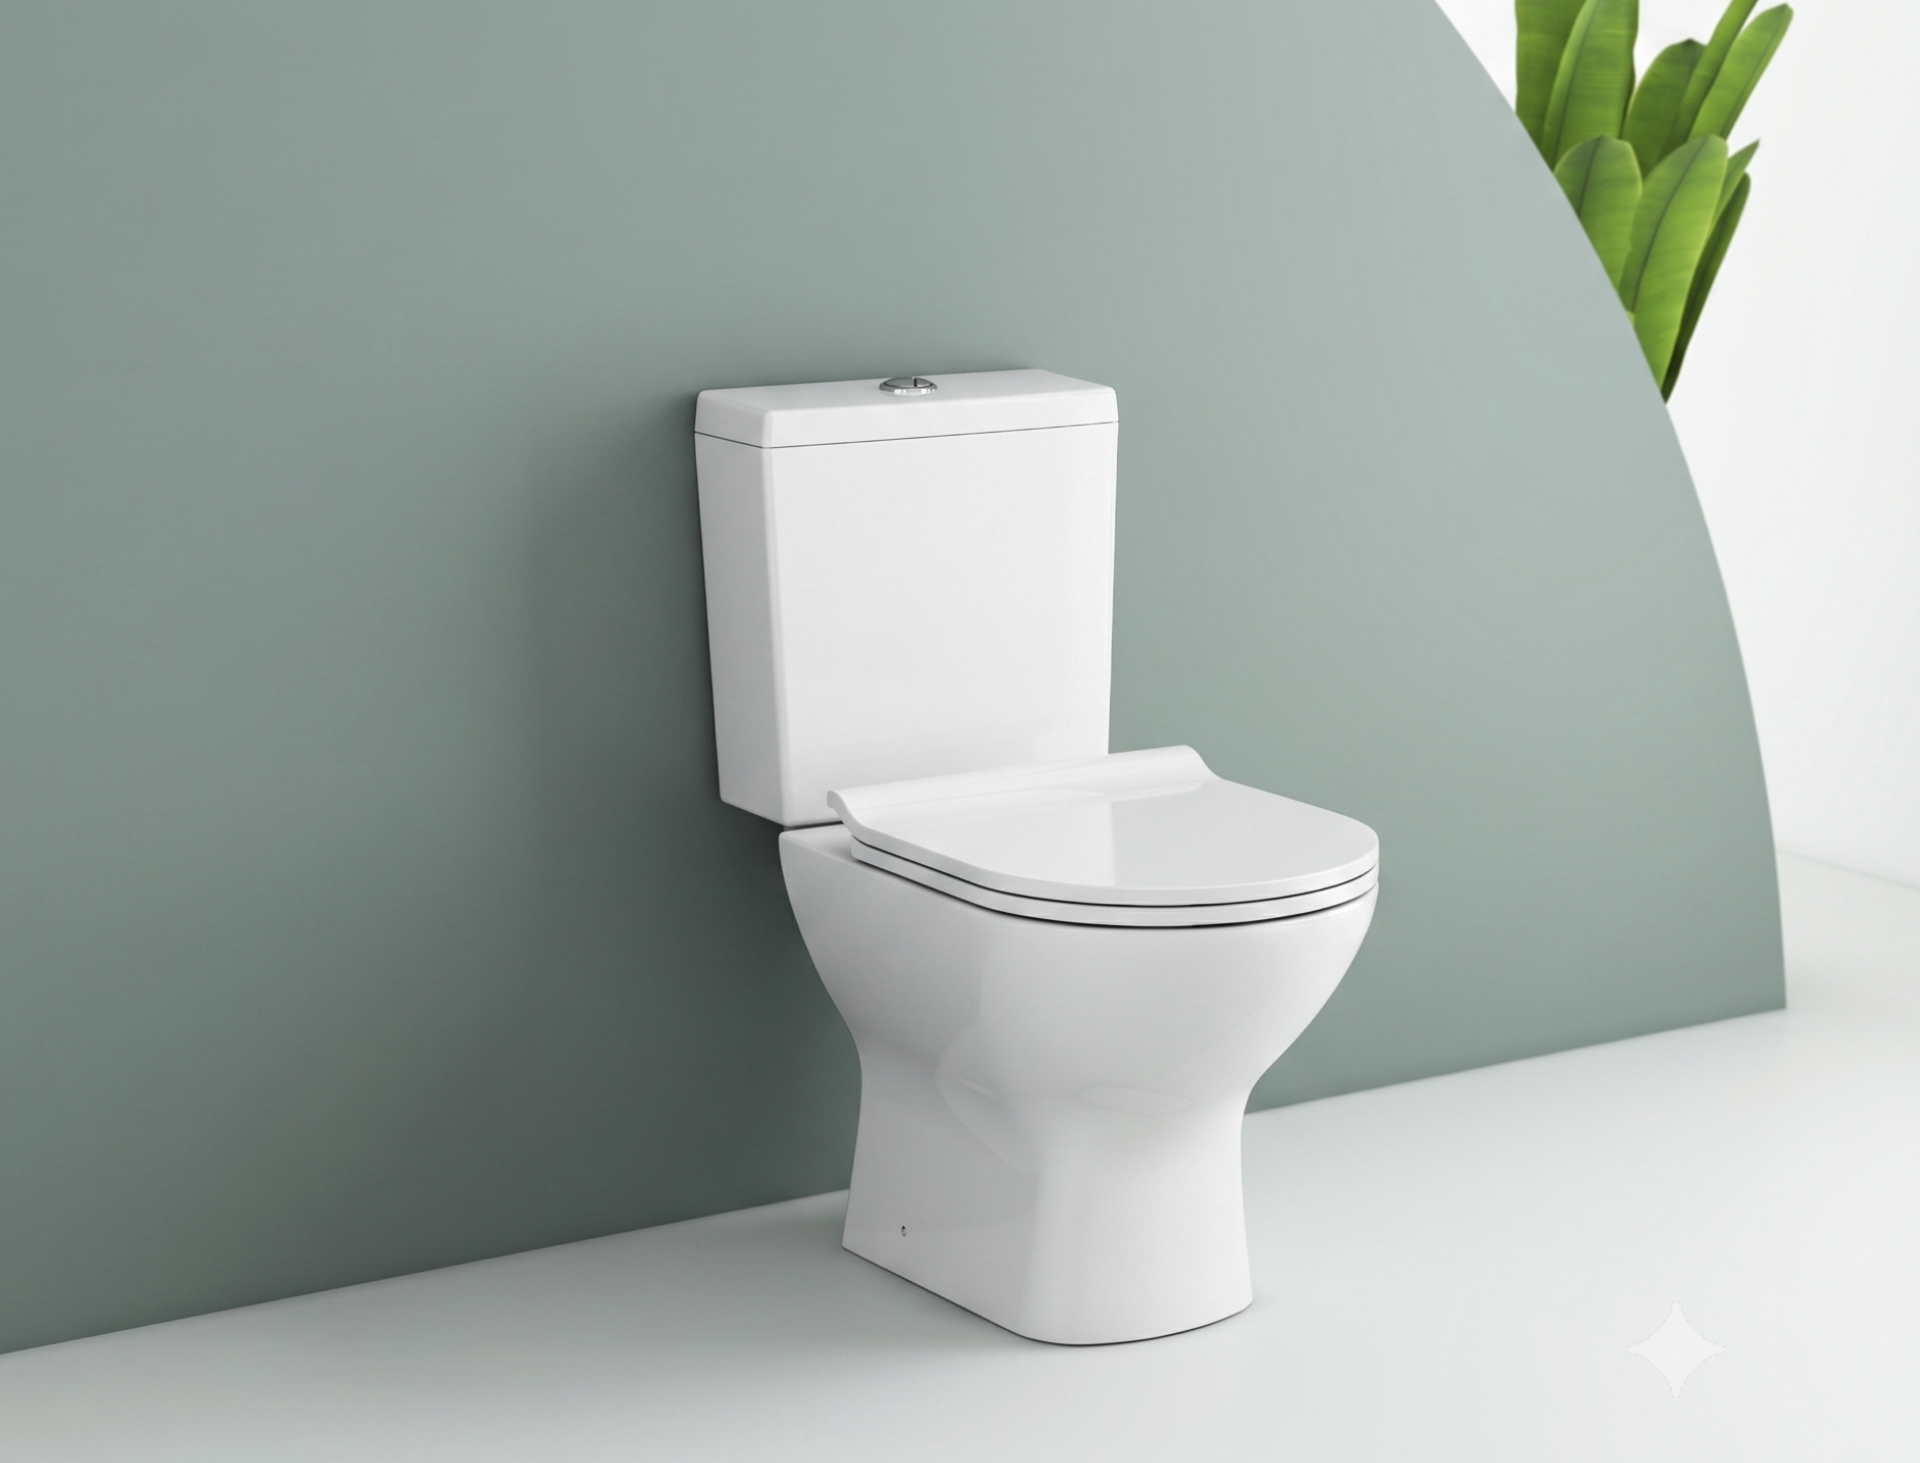
AER brings luxury and comfort to your bathroom. The AER TWC 02 R is a premium two-piece washdown rimless toilet. It features a modern design and efficient flushing system. Follow this step-by-step guide to install your toilet perfectly.
Tools and Prep
- Wear protective gloves.
- Keep the premium ceramic surface clean.
- Prepare basic tools like a drill and a screwdriver.
Step 1: Assemble the Tank Mechanisms
- First, prepare the water tank parts. This prevents future leaks.
- Install the Fill Valve: Insert the fill valve into the tank hole. Tighten the lock nut from underneath.
- Install the Flush Valve: Place the dual flush valve in the center hole. Secure it with the plastic lock ring.
- Connect the Refill Tube: Attach the small hose to the overflow pipe.
- Attach the Tank Gasket: Place the black rubber seal over the flush valve nut under the tank.
- Install the Flush Button: Insert the chrome button into the tank lid. Secure it from underneath.
Step 2: Mount Tank to Bowl
- Place the water tank carefully onto the back of the toilet bowl.
- Secure the Tank: Insert the tank bolts. Tighten the plastic nuts underneath to secure the tank.
Step 3: Prepare the Floor & Install the Bowl
- Measure the Rough-In Distance: Measure the distance from the wall to the center of the floor drain pipe. For the TWC – 02 R model, ensure the rough-in distance matches the S-trap specification of 250 mm.
- Measure Inner Rim (Toilet Bowl): Turn the toilet bowl on its side and measure the internal gaps from the inner rim to the outer edges of the toilet outlet. Note down Measurement A (distance to the rear/back rim) and Measurement B (distance to the front/side rim).
- Match Distances on Floor: Ensure the distances around your floor drain pipe match perfectly with the inner rim measurements taken from the toilet bowl.
- Transfer Measurements & Mark Floor: Transfer Measurement A and Measurement B onto the floor around the 3″ drain pipe. Use a ruler and marker to precisely mark where the floor brackets (L-brackets) will sit.
- Install Floor Brackets: Drill holes into the marked floor positions. Insert plastic anchors and screw down the L-brackets securely to the floor.
- Place the Gasket: Put the wax gasket over the floor drain pipe (3″ Drain Pipe size).
- Set the Toilet Bowl: Lower the toilet bowl carefully onto the floor. Align the side holes of the bowl with the installed floor brackets and the wax gasket, then tighten the side bolts to secure it.
- Lock the Bowl: Screw the toilet to the brackets. Cover the screws with AER chrome caps.
Step 4: Final Touches & Accessories
- Apply Silicone Sealant: Apply silicone around the base of the toilet bowl. Smooth it out with your finger.
- Place the Tank Lid: Put the cover lid back onto the tank.
- Install the Seat Cover: Insert the seat hinges into the bowl holes. Tighten the screws. Click the AER premium soft-closing seat cover into place.
- Connect Water Supply: Attach the flexible hose to the stop valve on the wall.
Your premium AER TWC 02 R is now ready for use.
Need a visual reference? Watch our professional step-by-step guide on YouTube: 👉 Watch AER Sanitary | TWC 02 R Installation Guide on YouTube
Since 1997, AER enhances your quality of life through innovation that never ends, delivering Designed for Perfection solutions for your private sanctuary.
Product Categories: Fitting • Sanitary • Kitchen • Bathroom & Safety